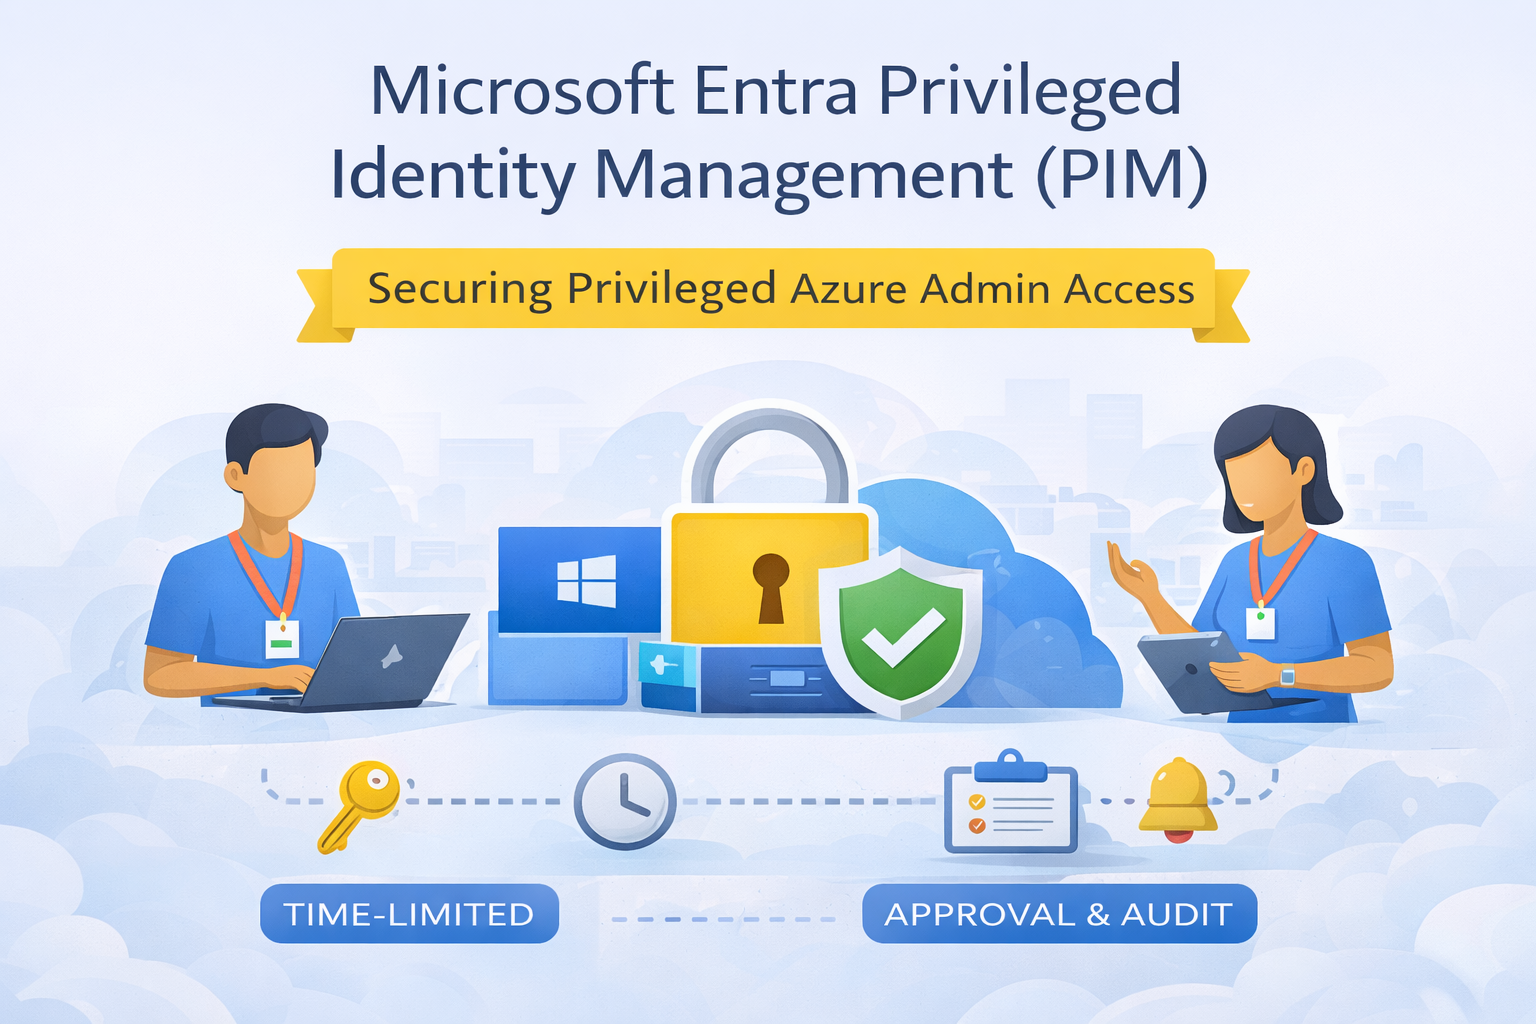
✅ Step 0 — Prerequisites (Don’t Skip)
Before you configure PIM, confirm:
- You have the correct licensing for Entra PIM.
- You have at least one “break-glass” account excluded from Conditional Access (stored securely).
- You know which scope(s) you’re protecting:
- Entra roles (e.g., Global Administrator, Privileged Role Administrator)
- Azure RBAC roles (e.g., Owner, Contributor, User Access Administrator)
FABS Tip: Start with the highest-impact roles first: Global Admin, Privileged Role Admin, Owner, User Access Administrator.
🔐 Part A: Configure PIM for Microsoft Entra Roles
Step 1 — Open PIM
- Go to Microsoft Entra admin center
- Navigate to: Identity Governance → Privileged Identity Management
- Select: Microsoft Entra roles
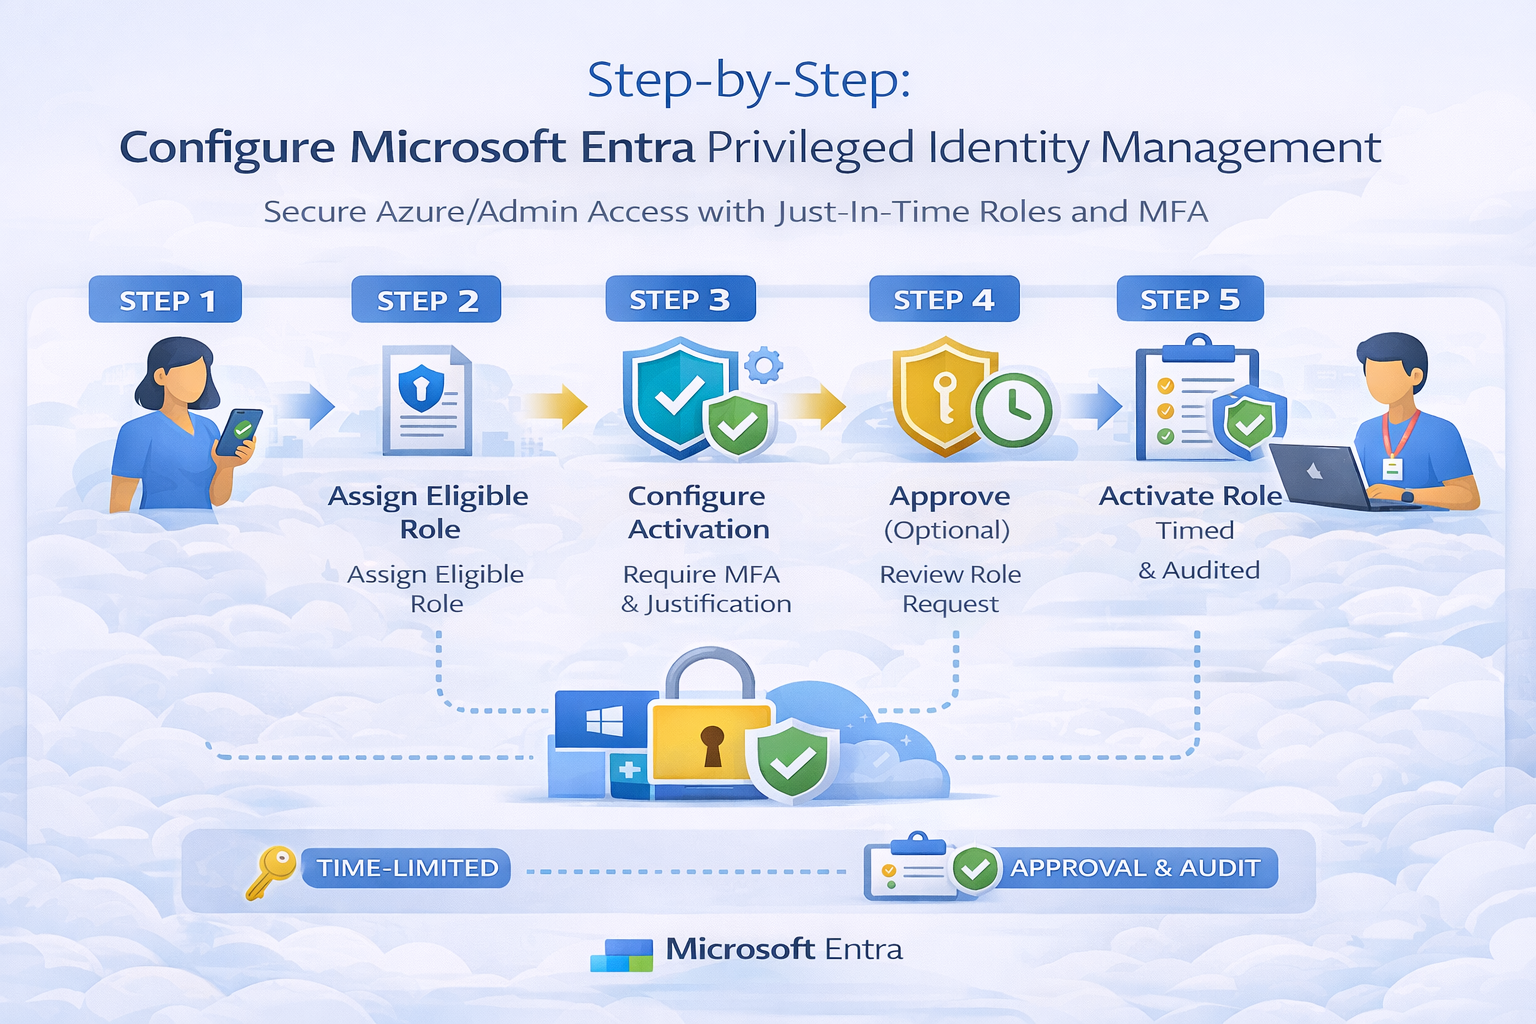
Step 2 — Configure Role Settings (Activation Requirements)
- Choose a privileged role (e.g., Global Administrator)
- Open Role settings
- Configure Activation requirements, for example:
- ✅ Require MFA on activation
- ✅ Require justification
- ✅ (Optional) Require ticket information (ServiceNow / Jira reference)
- ⏱️ Set Maximum activation duration (e.g., 1–4 hours)
- ✅ (Optional) Require approval for activation
Best practice: Short durations + MFA + justification should be your baseline.
Step 3 — Configure Notifications
In the same role settings:
- Enable notifications to:
- Admins when a role is activated
- Users when they activate a role
- Security teams for high-privilege elevation
This is one of the quickest wins for governance and auditing.
Step 4 — Assign Users as Eligible (Not Active)
- Go to Assignments
- Select Add assignments
- Choose the role
- Add users/groups as Eligible
- Set an assignment duration (where applicable)
✅ Result: Users can elevate only when needed.
🔑 Part B: Configure PIM for Azure RBAC Roles (Subscriptions/Resources)
Step 5 — Onboard Azure Resources into PIM
In PIM, go to:
- Azure resources → Discover resources
- Select the subscription(s) or management group(s)
- Click Manage resource
This enables PIM controls for Azure RBAC roles.
Step 6 — Configure Azure RBAC Role Settings (Owner/Contributor)
- In Azure resources, select your subscription
- Go to Roles
- Choose roles like:
- Owner
- Contributor
- User Access Administrator
- Configure activation:
- ✅ Require MFA
- ✅ Require justification
- ✅ Optional approval
- ⏱️ Duration (recommend 1–2 hours for high privilege)
FABS Tip: Treat “User Access Administrator” as highly sensitive (it controls permissions).
Step 7 — Assign Eligible Roles at the Correct Scope
Assign eligible roles carefully:
- Prefer Management Group scope for platform teams
- Use Subscription scope for workload teams
- Avoid broad assignments at tenant root unless truly required
Then:
- Add assignments as Eligible
- Limit assignment duration if possible
✅ Part C: Operational Controls (Make PIM “Stick”)
Step 8 — Configure Approval Workflow for Production Roles
For production subscriptions or identity admin roles:
- Require approval for:
- Owner
- Global Administrator
- Privileged Role Administrator
- User Access Administrator
Approvers should be:
- Security team
- Platform leads
- On-call duty managers
Step 9 — Enable Alerts & Auditing
In PIM:
- Review Alerts regularly (e.g., too many admins, suspicious activations)
- Use Audit history to track:
- activations
- role changes
- approvals and denials
Best practice: Forward PIM logs to Sentinel / SIEM if you operate at enterprise scale.
Step 10 — Schedule Access Reviews
Use Access reviews to ensure eligible assignments remain valid:
- Quarterly for standard privileged roles
- Monthly for high-risk roles
- Tie to joiner/mover/leaver processes
🧪 Example Configuration (Recommended Baseline)
Here’s a strong baseline for most Azure production environments:
Role: Owner (Production subscription)
- Eligible assignment only
- Require MFA ✅
- Require justification ✅
- Require approval ✅
- Activation duration: 1–2 hours ⏱️
- Ticket required: Optional (recommended for ITIL environments) ✅
- Notifications: Admin + approver + user ✅
🧠 FABS Solutions Best Practices Checklist
✔ Remove all permanent Owner/Global Admin assignments (except break-glass)
✔ Use PIM eligible roles as the default model
✔ Require MFA + justification for all privileged activations
✔ Require approval for production and identity admin roles
✔ Keep activation windows short
✔ Audit role activations and review access regularly
📘 References (Keep These Links)
- Microsoft PIM configuration guide:
https://learn.microsoft.com/en-us/entra/id-governance/privileged-identity-management/pim-configure
Click Here To Return To Blog