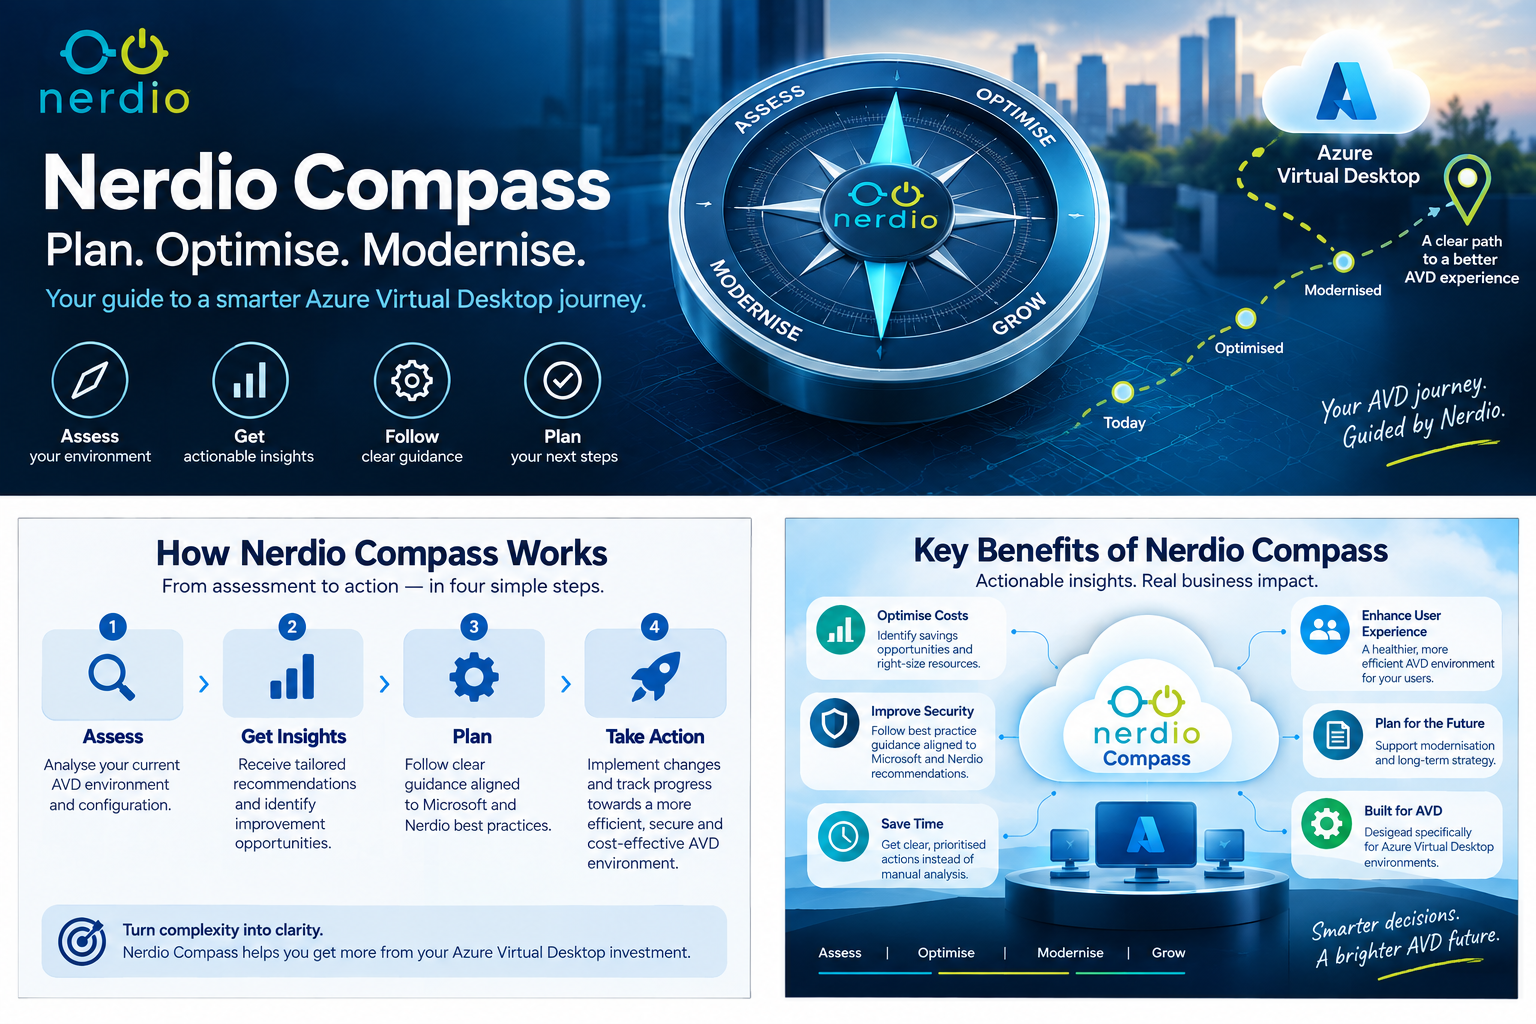
In Part 1 – What Is Nerdio Compass and Why Should You Use It?, we looked at why discovery should be the starting point for a VDI or Windows Cloud modernisation project.
Now let's get hands-on.
In this article, I'll look at how to get started with Nerdio Compass, connect your environment and begin using the assessment data to understand your existing estate and plan your Windows Cloud journey.
At the time of writing, Nerdio Compass is available in public preview.
Step 1 – Access Nerdio Compass
Getting started doesn't require deploying another management server or installing agents throughout the VDI estate.
Navigate to:
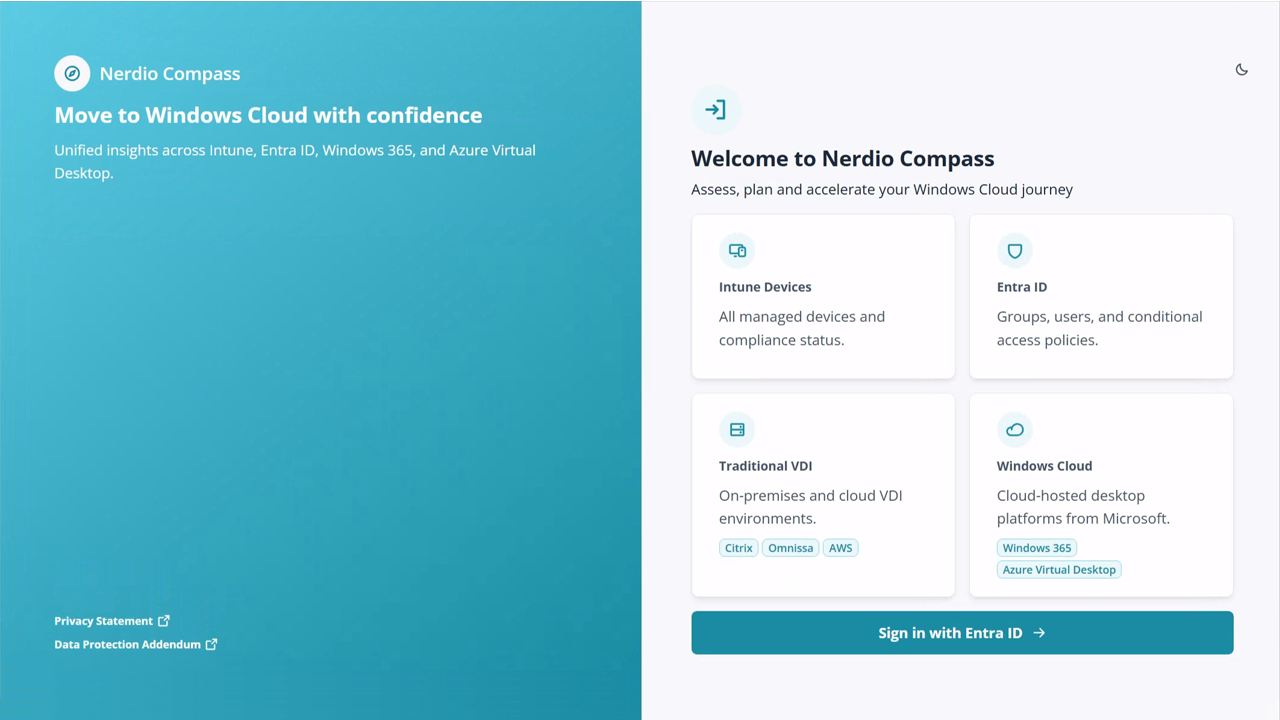
Sign in using your Microsoft Entra ID identity.
Once authenticated, Compass guides you through the initial configuration.
💡 Fabs Field Recommendation
Before connecting any discovery platform to production, understand exactly which permissions are being requested and why.
Use least privilege wherever possible and document the access as part of your architecture and security review.
Step 2 – Configure Microsoft Entra ID Permissions
The first configuration step is allowing the required Microsoft Entra ID permissions.
These permissions allow Compass to access the information required for discovery and assessment.
Follow the Nerdio wizard and review the requested permissions before granting consent.
NME KB: Nerdio Compass Permissions and Access Reference – Nerdio Help Center
Step 3 – Connect Microsoft Azure
Compass can connect to your Microsoft Azure environment to provide additional discovery and assessment information.
This allows Compass to understand Microsoft infrastructure associated with the wider EUC estate.
The public preview now includes discovery support for:
- Azure Virtual Desktop
- Microsoft Intune
alongside Citrix discovery.
This is particularly useful where organisations already operate a mixed environment.
For example:
- Citrix
- Existing AVD
- Intune-managed endpoints
Rather than assessing each environment independently, Compass is moving towards providing a consolidated view of the wider EUC estate.
Step 4 – Connect Your Citrix Environment
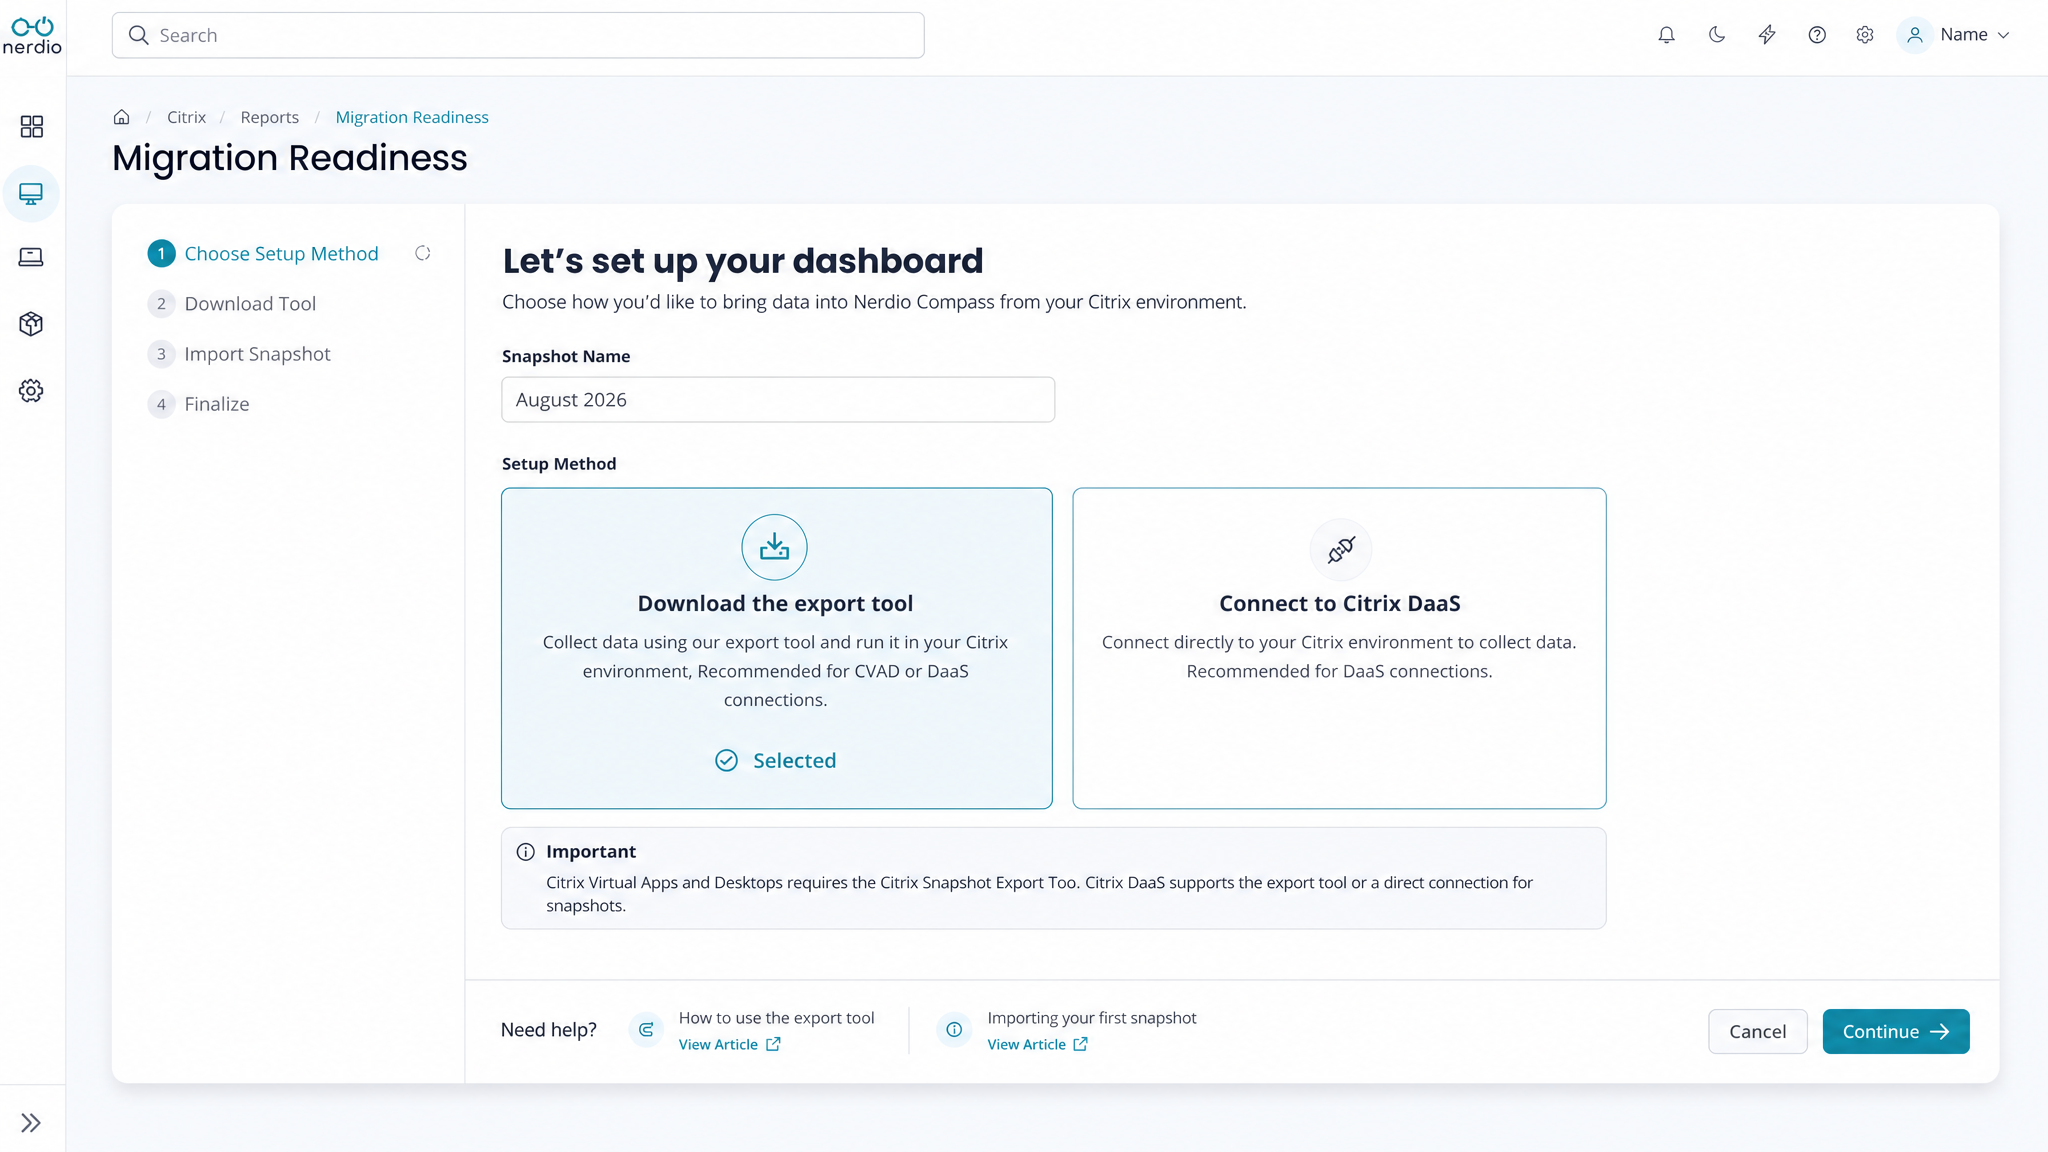
For Citrix Virtual Apps and Desktops or Citrix DaaS environments, Compass uses a read-only PowerShell collector to collect configuration information.
An important option is the ability to anonymise sensitive information before it is uploaded.
The objective is discovery rather than changing the Citrix environment.
Once connected, Compass begins building a picture of the estate.
The information collected can then be used to understand areas including environment structure, workloads, policies and migration readiness.
Step 5 – Review the Environment Assessment
Once discovery has completed, the interesting part begins.
Instead of immediately thinking about migration, spend time reviewing what Compass has discovered.
Look for:
- Delivery groups
- Machine catalogues
- Applications
- Workloads
- User assignments
- Policies
- Infrastructure
- Cost
- Migration readiness
This is where undocumented configuration often becomes visible.
💡 Fabs Field Recommendation
Don't treat discovery as a checkbox before migration.
Bring together your EUC architects, operational teams, application owners and security teams and review what has actually been discovered.
Compass provides the data. Your organisation still needs to provide the business context.
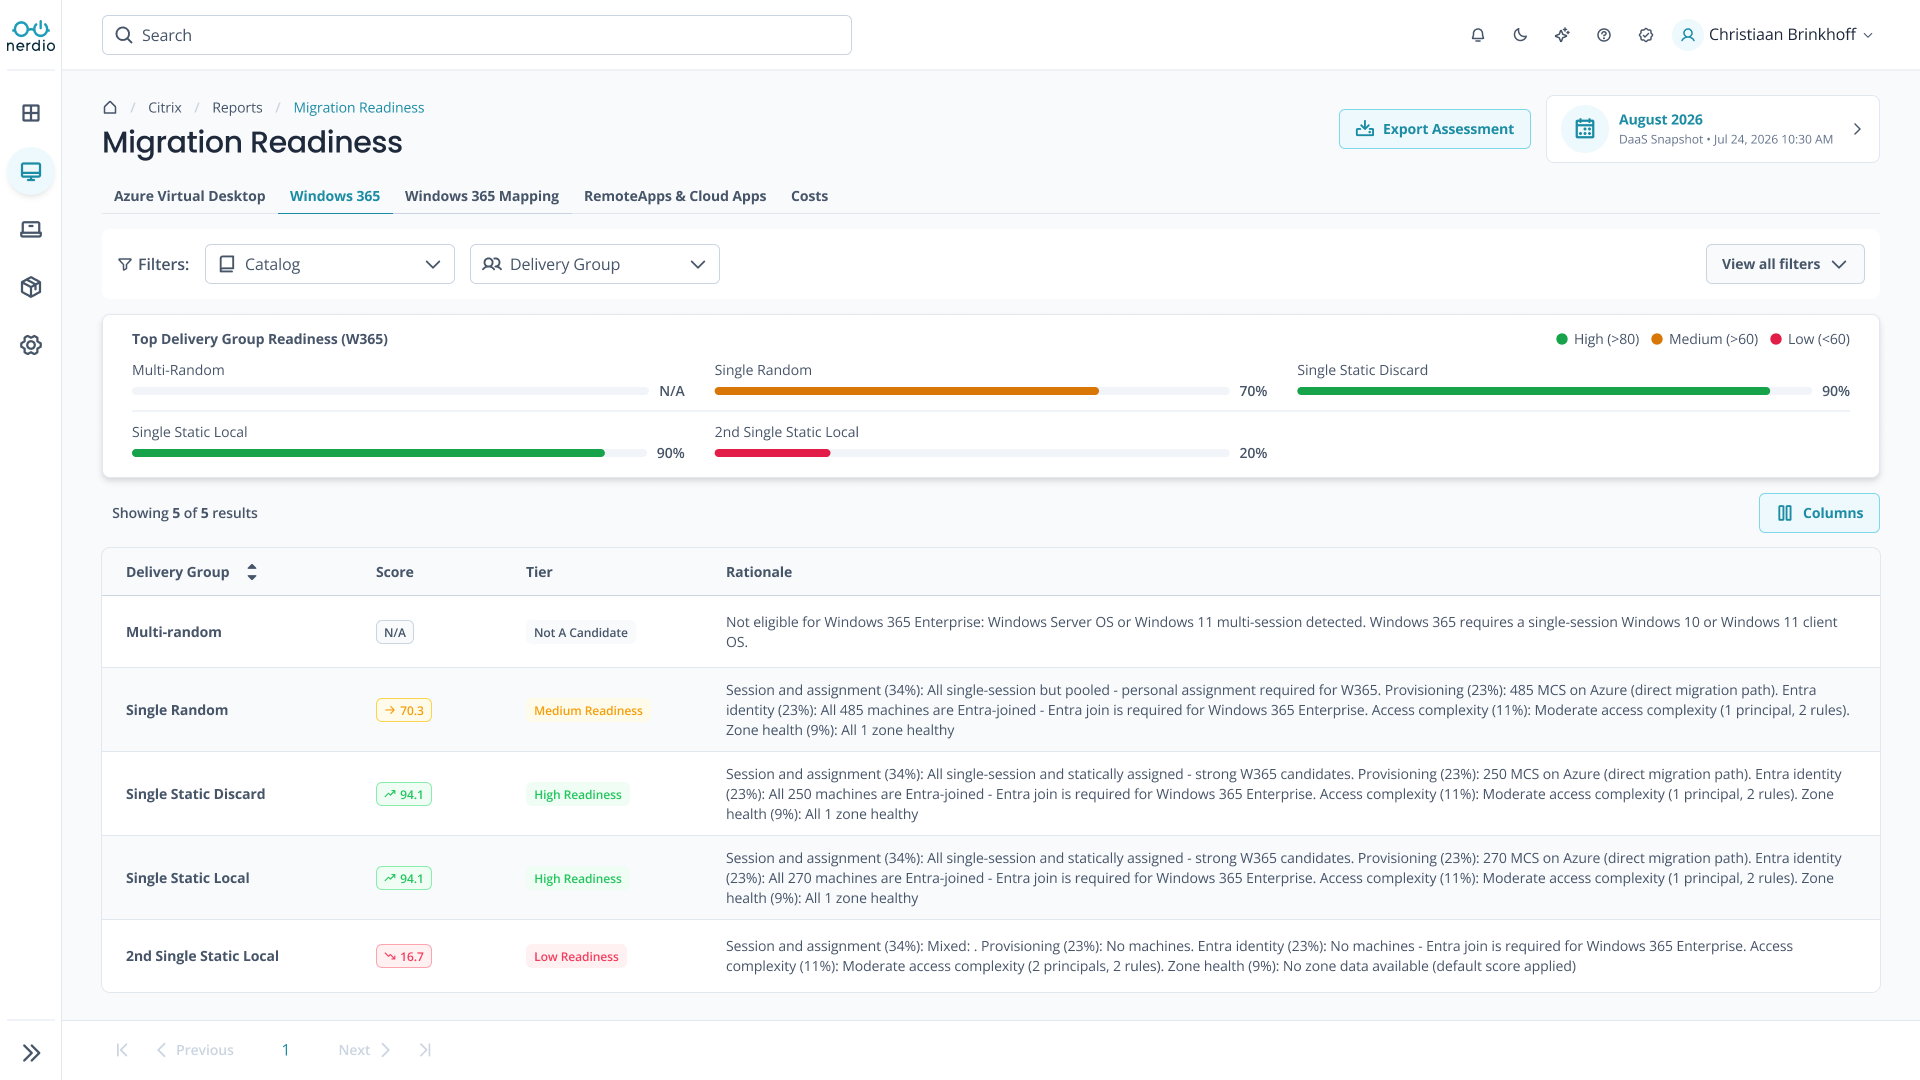
Step 6 – Review Migration Readiness
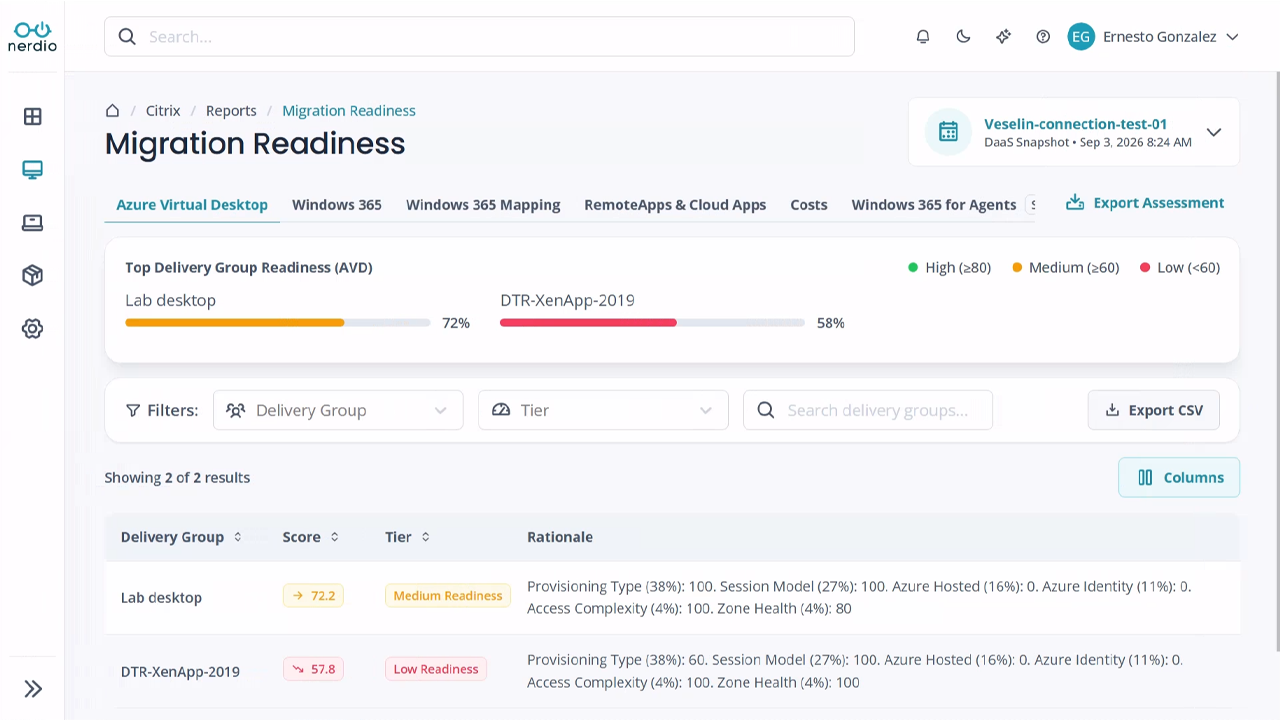
One of the most interesting capabilities demonstrated by Nerdio is the ability to assess Citrix delivery groups for potential migration to Microsoft's Windows Cloud.
This doesn't mean every workload should immediately be migrated.
Instead, use the assessment to identify potential migration groups.
For example:
Wave 1 – Low complexity: Standard knowledge workers with straightforward applications and policies.
Wave 2 – Medium complexity: Users with additional applications or configuration requirements.
Wave 3 – Complex: Developers, GPU workloads, specialist applications or workloads with significant dependencies.
This turns discovery into the beginnings of a migration plan.
Step 7 – Analyse Citrix Policies
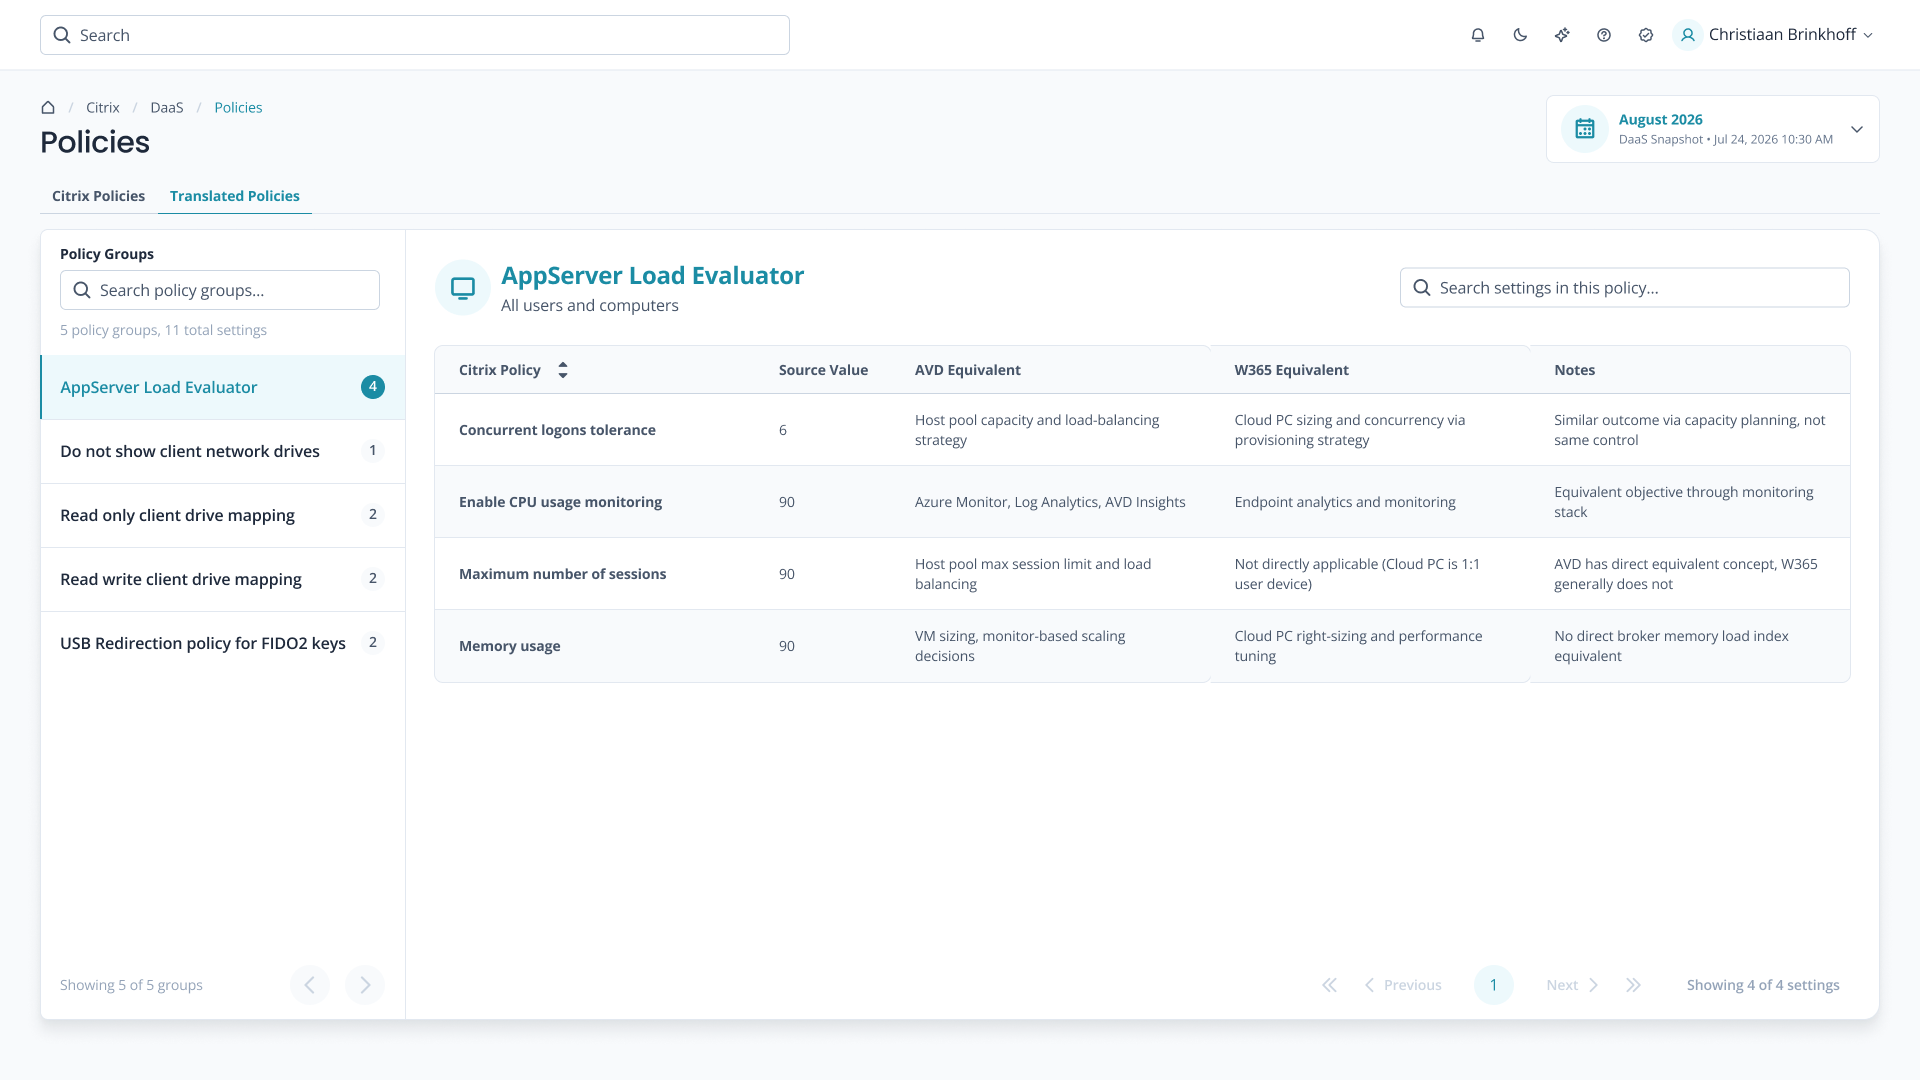
Compass can analyse Citrix policy configuration and help expose accumulated complexity.
This is particularly useful during modernisation because not every Citrix policy has a direct Microsoft equivalent — and not every policy should be migrated.
Nerdio's public-preview demonstration also shows the ability to help translate Citrix policy settings towards their Microsoft equivalents.
Use this stage to classify policies as:
- Retain
- Replace
- Redesign
- Retire
💡 Fabs Field Recommendation
This is one of the best opportunities in the migration project to remove technical debt.
Don't ask:
"How do we recreate this Citrix policy?"
First ask:
"Do we still need this policy?"
Step 8 – Review Costs
Open the Costs area to understand the current environment's cost profile.
Compass provides default pricing assumptions that can be adjusted to better represent your actual contracts and licensing arrangements.
Use this information as the baseline for your modernisation business case.
The important comparison isn't simply:
Citrix VM vs AVD VM
It is:
Current total service cost Vs Future total service cost
That should include infrastructure, licensing, storage and operational considerations wherever possible.
Step 9 – Use Snapshots to Track Progress
One particularly interesting Compass capability is the ability to compare snapshots of the source environment.
This becomes valuable once migration begins.
For example:
Snapshot 1
2,500 users remaining on Citrix
↓
Migration Wave 1
↓
Snapshot 2
1,900 users remaining
↓
Migration Wave 2
↓
Snapshot 3
1,100 users remaining
Instead of Compass being discarded once the initial assessment is complete, it can continue to provide visibility as the environment changes.
That aligns with Nerdio's wider goal of making Compass an ongoing assessment platform rather than a one-time migration utility.
Step 10 – Move from Assessment to Action
Ultimately, discovery should lead to action.
The workflow becomes:
Connect
↓
Discover
↓
Assess
↓
Rationalise
↓
Size
↓
Plan migration waves
↓
Build Windows Cloud
↓
Migrate
↓
Measure progress
Nerdio has also demonstrated integration between Compass and Nerdio Manager, including scenarios such as bringing Citrix published applications across as AVD RemoteApps.
This is where the combination becomes particularly interesting.
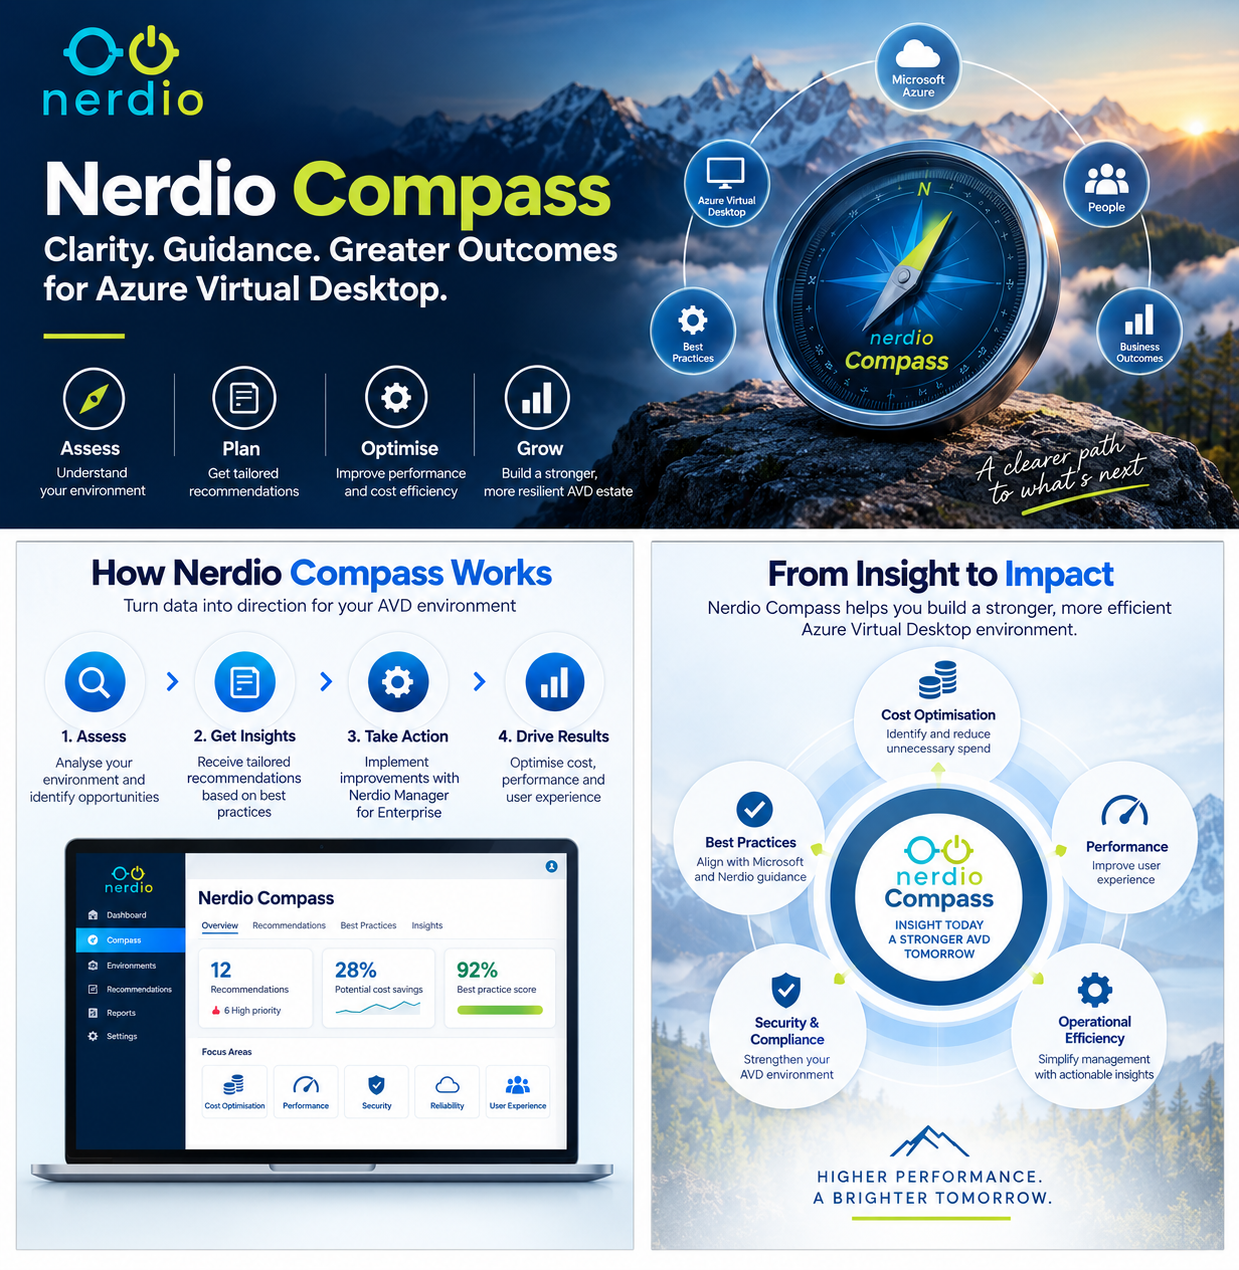
Nerdio Compass helps understand and plan the journey.
Nerdio Manager helps build, manage and optimise the destination.
Final Thoughts
Nerdio Compass makes the discovery stage of a Windows Cloud migration considerably more structured.
Rather than spending weeks manually gathering configuration into spreadsheets, organisations can begin with an automated assessment of their existing environment.
But the tool shouldn't replace architecture.
It should improve the information available to the architect.
My recommended workflow is:
Discover → Validate → Rationalise → Assess → Design → Migrate → Optimise
Use Compass to understand reality.
Then combine that information with application requirements, user personas, security requirements, business priorities and operational constraints to determine the right Windows Cloud architecture.
That's how discovery becomes a modernisation strategy.
📚 References
Nerdio Compass – Public Preview
The Shiproom – Assess Your Estate Before You Migrate: Nerdio Compass Demo
Nerdio Compass Permissions and Access Reference – Citrix Environments
Nerdio Manager Compass Documentation
Disclaimer: Nerdio Compass is currently in public preview. The user interface, permissions, workflows and supported capabilities may change. Always validate deployment steps against the latest Nerdio documentation.
Click Here To Return To Blog